Your first SimReady asset
A SimReady asset is a 3D object that a physics simulator can load and use immediately: clean geometry, real-world scale, materials, collision shapes, mass and friction, and (when the object has moving parts) joints. Palatial builds one from a text description, a photo, or a CAD file. This page walks through the whole thing once.
-
Create an account and a workspace. Sign up at dashboard.palatial.cloud/signup. On first login you create an organization (your company or team) and a workspace inside it (where assets live). If you were invited by a teammate, you land in their workspace instead. Organizations vs workspaces explains the difference.
-
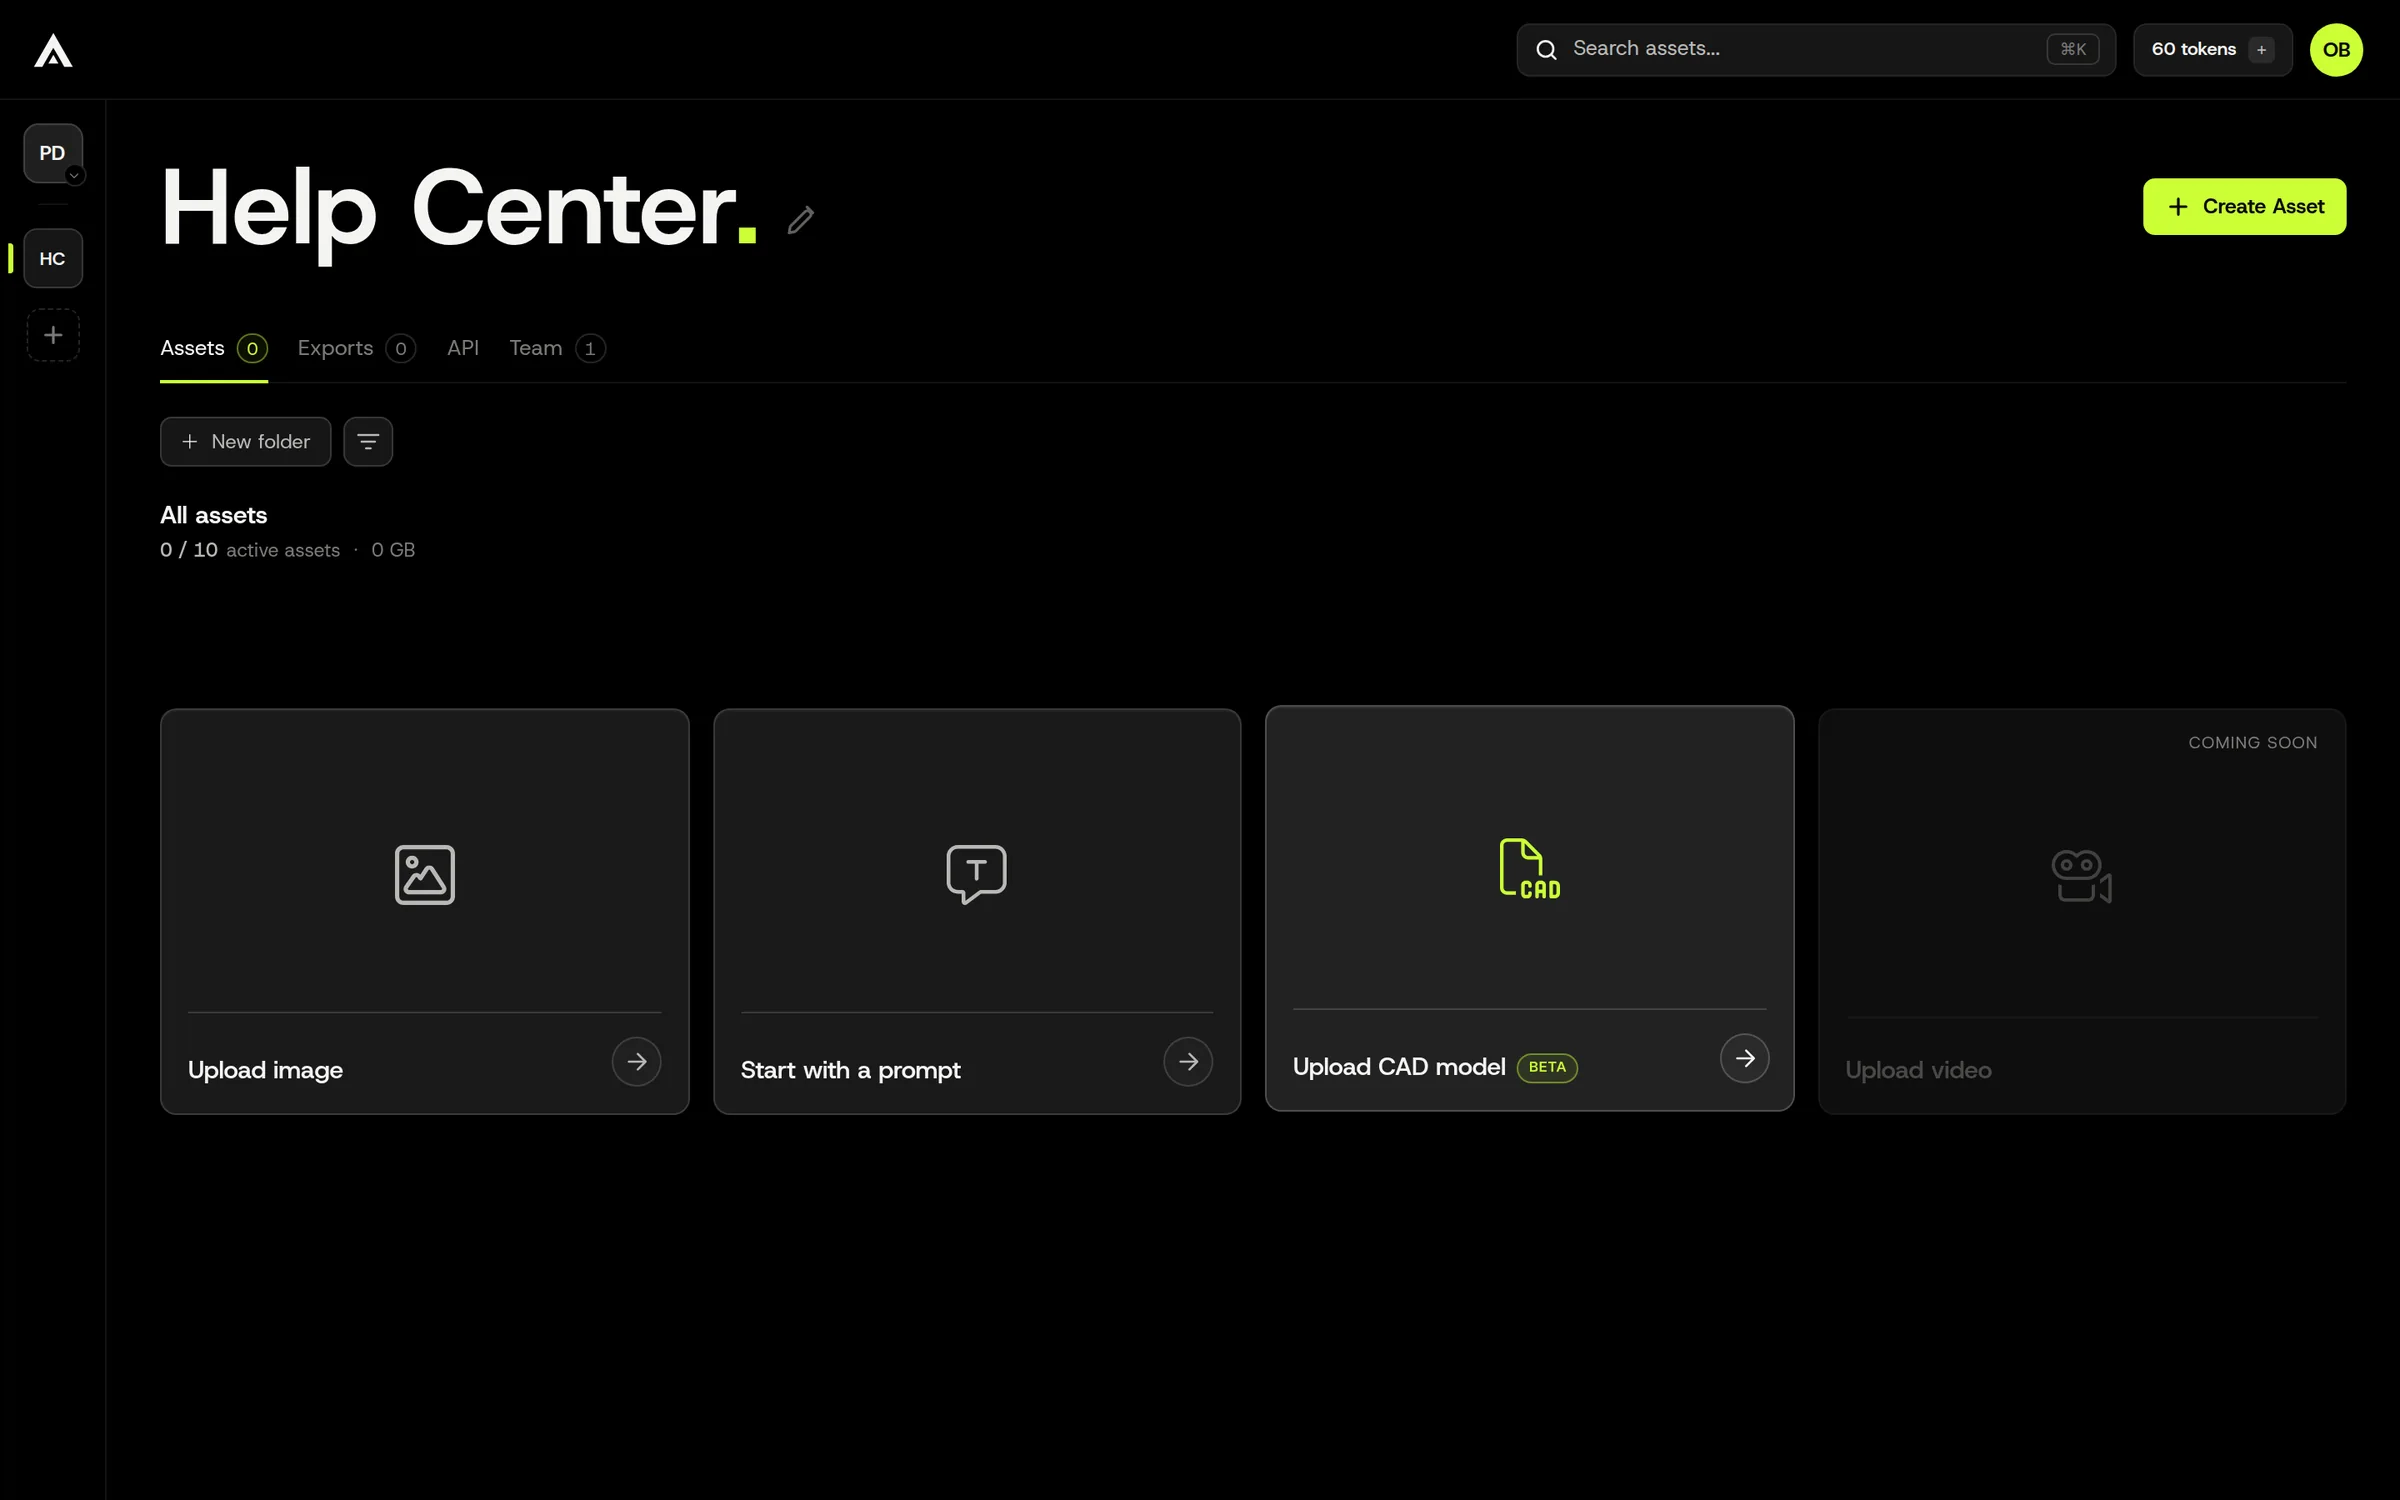
Start a new asset. Pick how you want to start, or click Create Asset in the top right to open a blank asset and attach things as you go:
- Upload image: one photo or several views of a real object. Image to Sim
- Start with a prompt: describe the object. Best when you have no source files. Text to Sim
- Upload CAD model: a STEP, OBJ, GLB, or similar. Best when you already have geometry. CAD to Sim
-
Talk to the Agent. The asset opens in the viewer with the Asset agent panel on the left. Tell it what you want in plain language. The Agent reads your input, proposes settings, and asks a short question when it needs a decision from you, for example how do the parts of this object behave? Click an option or type an answer.
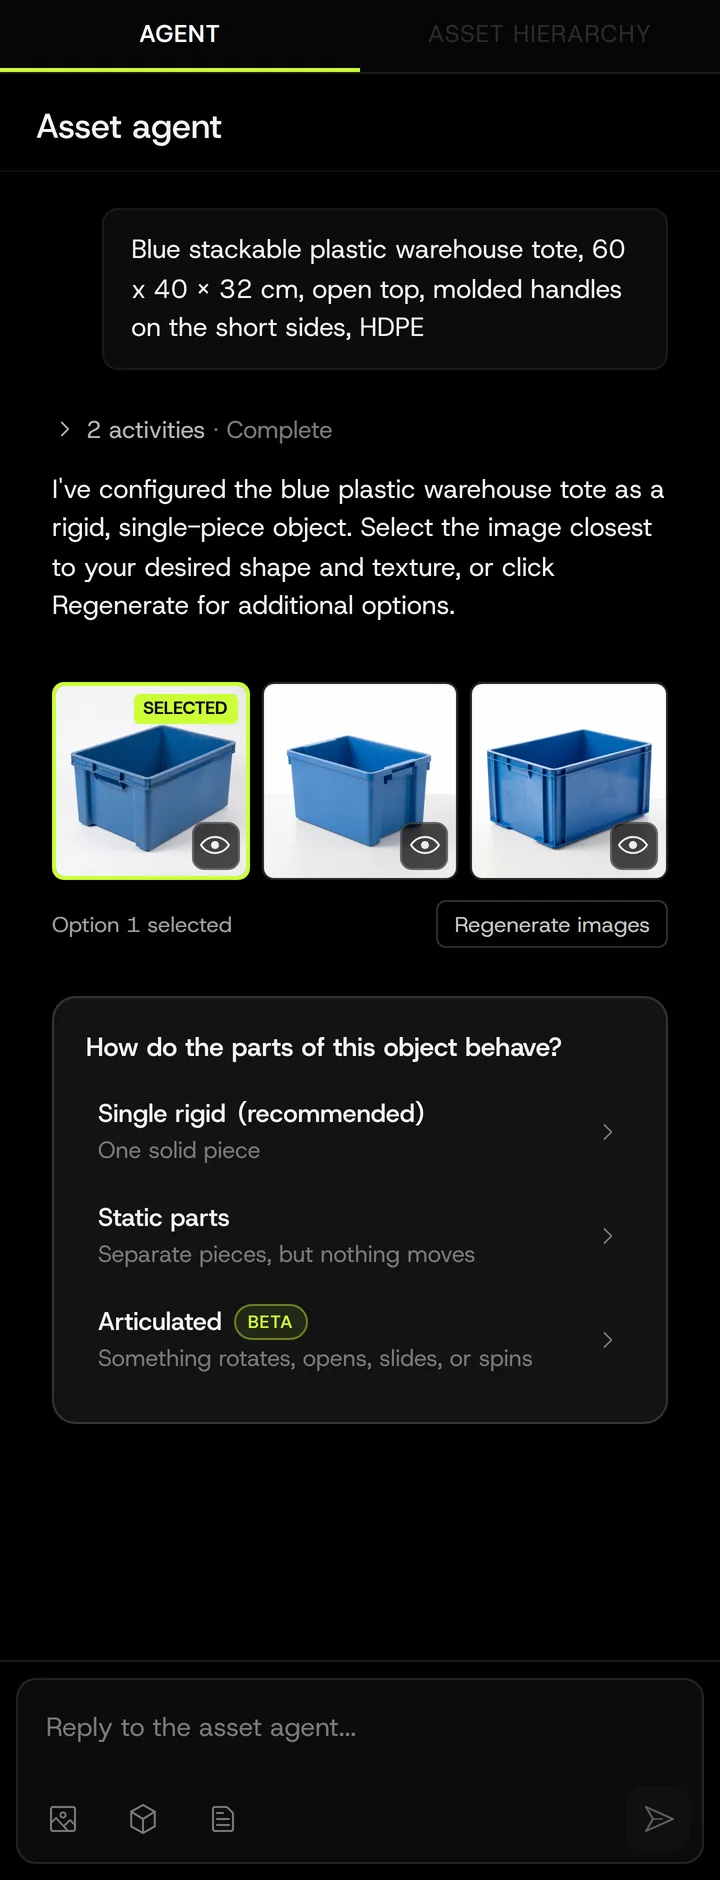
The Palatial Agent covers what it can and can’t do.
-
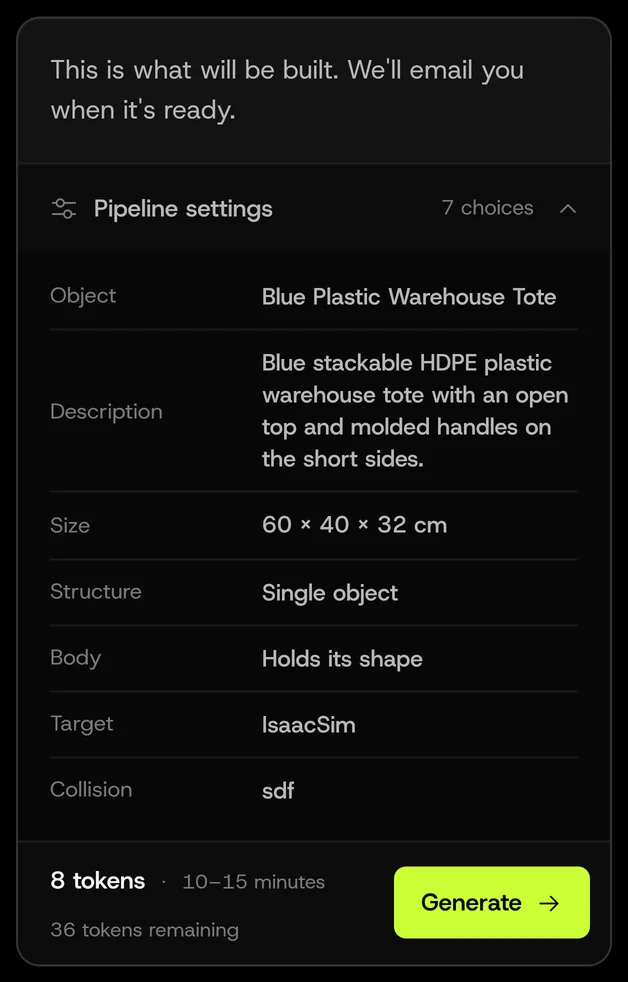
Review the confirmation card and confirm. Before anything is generated, the Agent shows a card with the object it understood, the settings it chose (expand Pipeline settings to see them all), the estimated time, and the token cost. Nothing is charged until you click Generate.
-
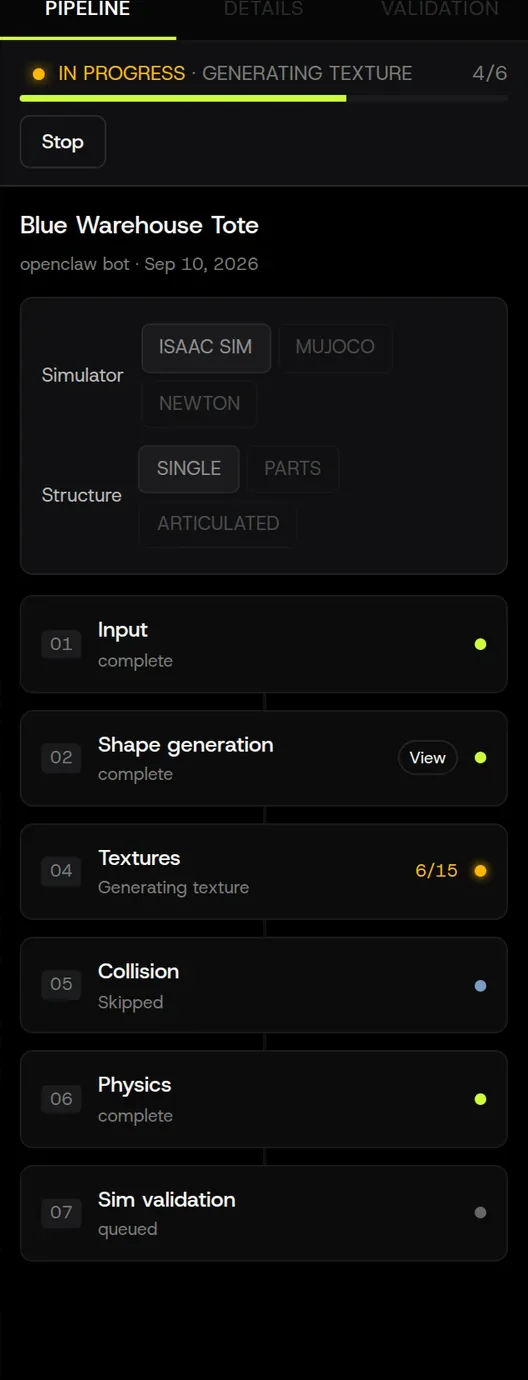
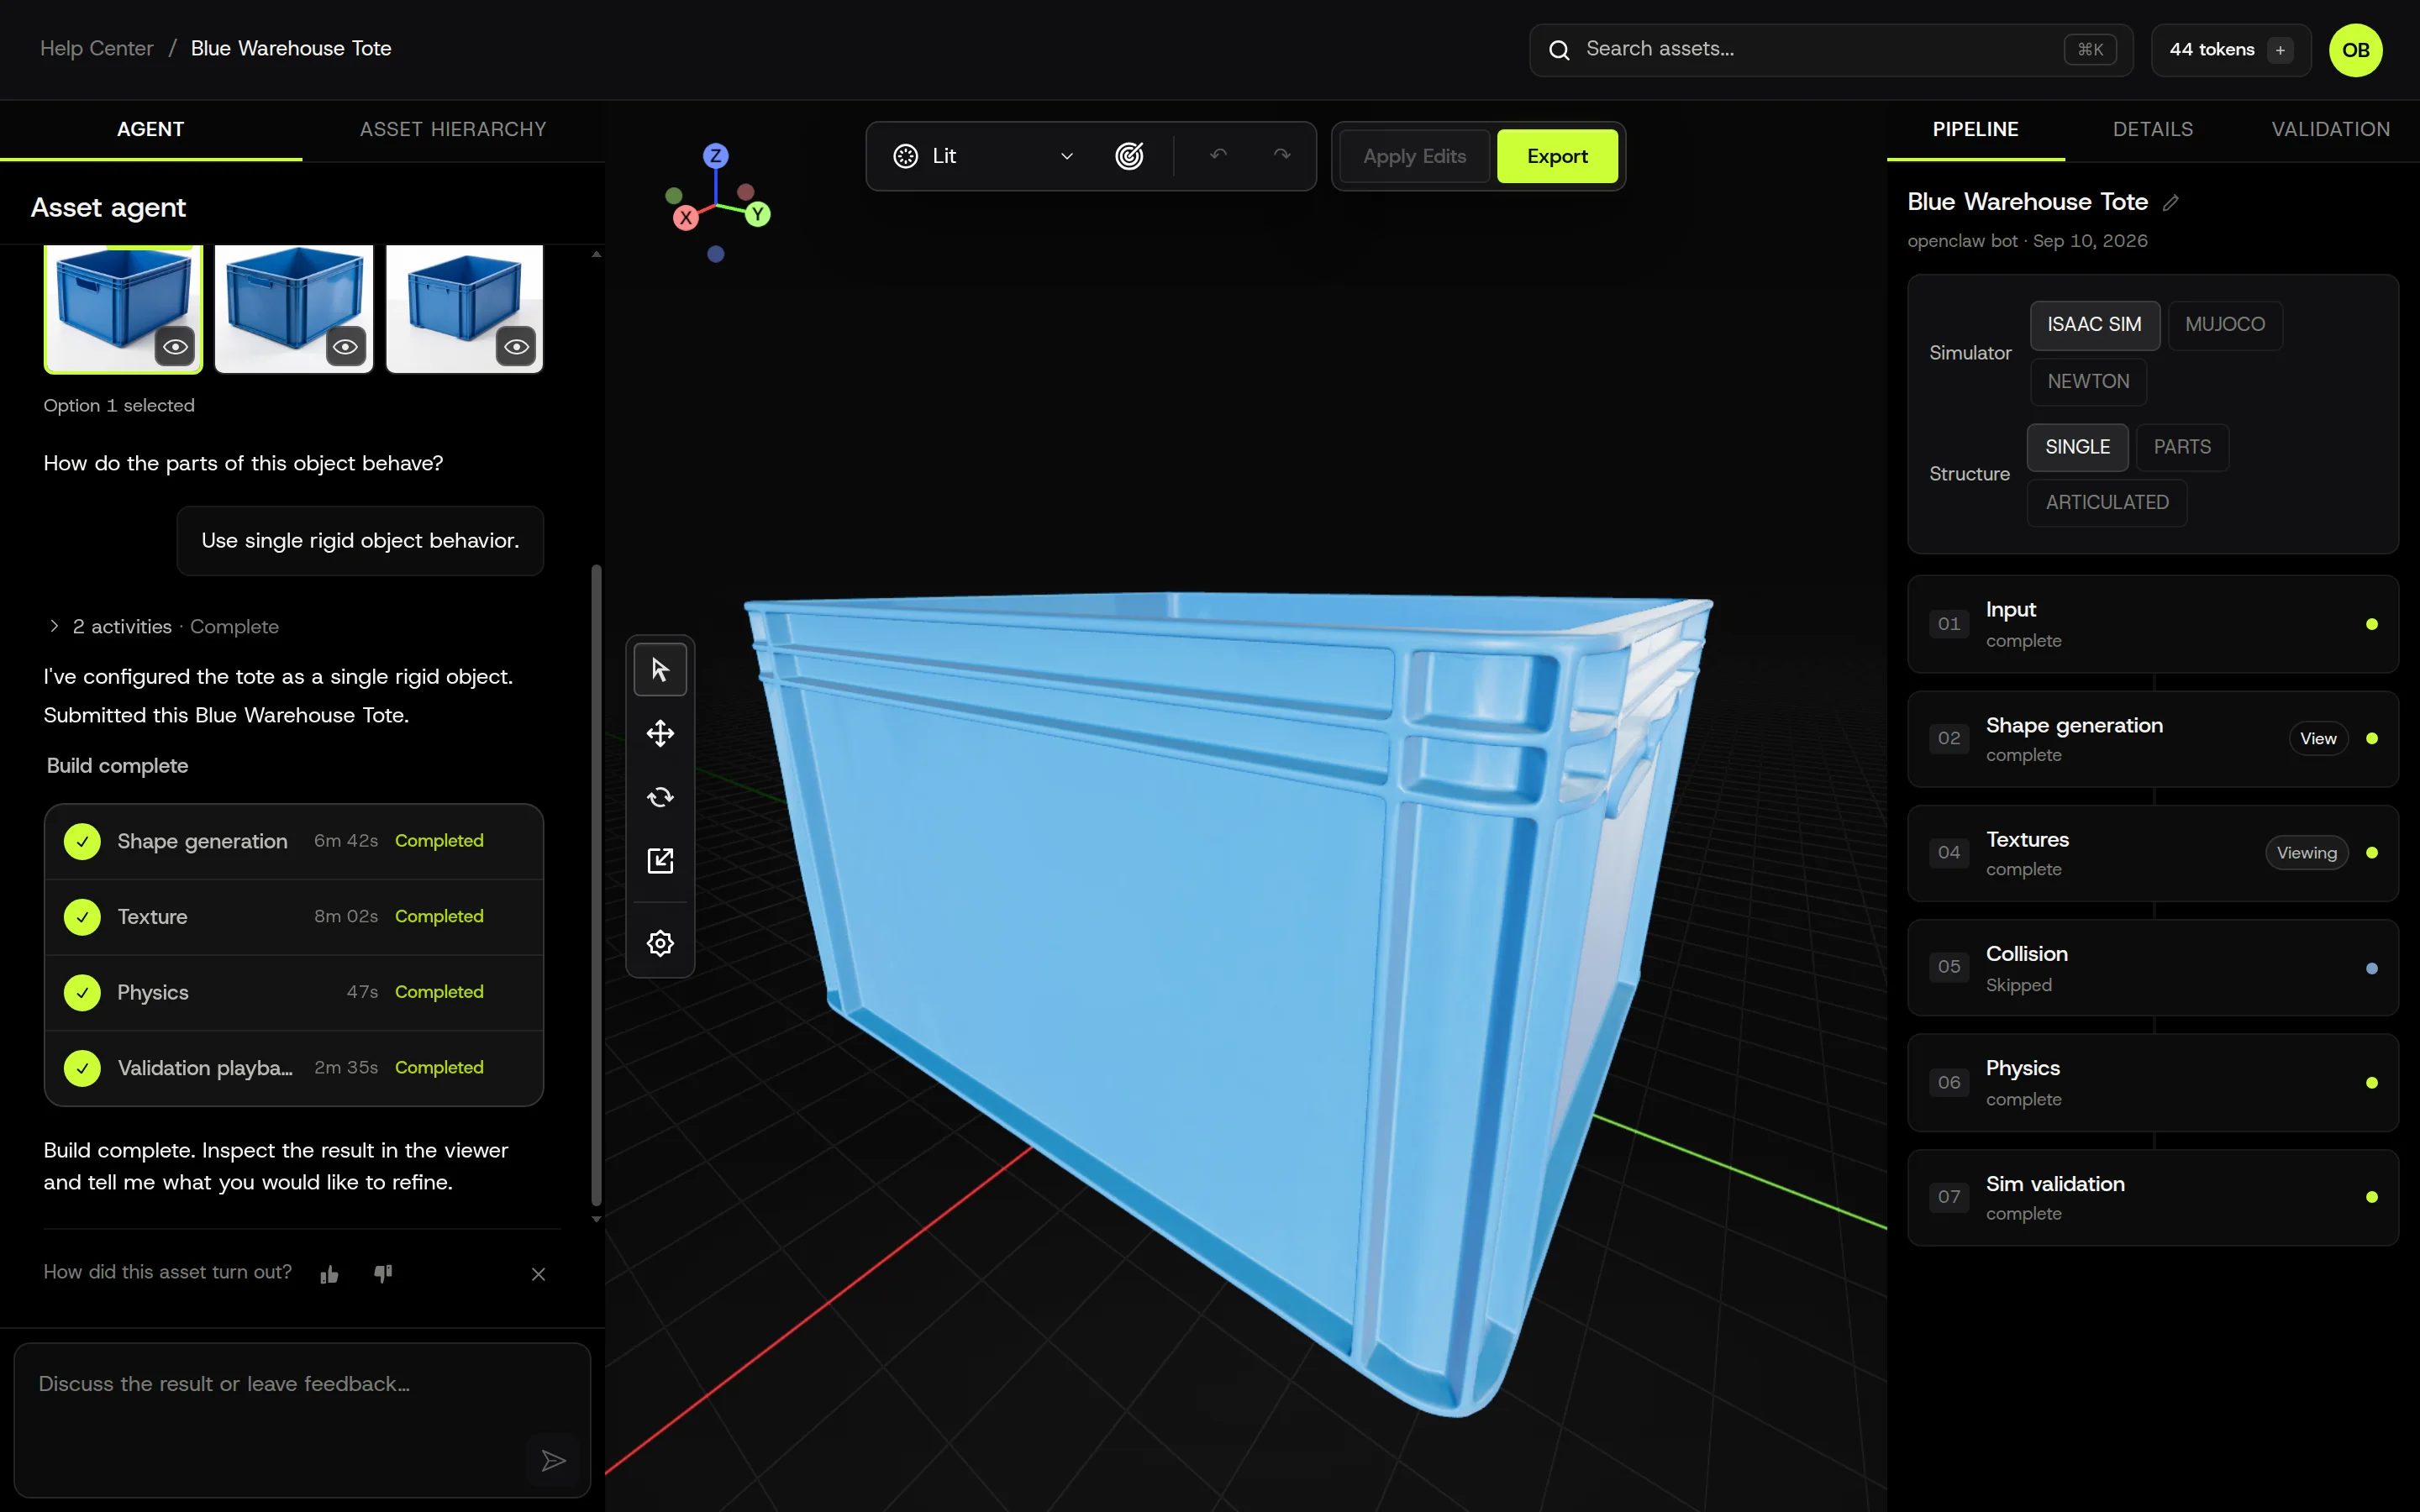
Watch the pipeline. The Pipeline tab on the right shows each stage as it runs: Input, Shape generation, Textures, Collision, Physics, Sim validation. Stages that don’t apply to your input are marked Skipped. The Agent panel shows the same progress with timings.
-
Inspect the result. When the build completes, Apply Edits and Export become active in the toolbar and the Details and Validation tabs unlock. Orbit the model, switch view modes, open Asset hierarchy to toggle the collision shape, and read the physics values under Details.
-
Fix anything that’s off. Wrong scale, a material that should be different, a part that should move: tell the Agent, or edit values directly under Details and press Save. Only the affected stages rerun. Editing an asset after generation
-
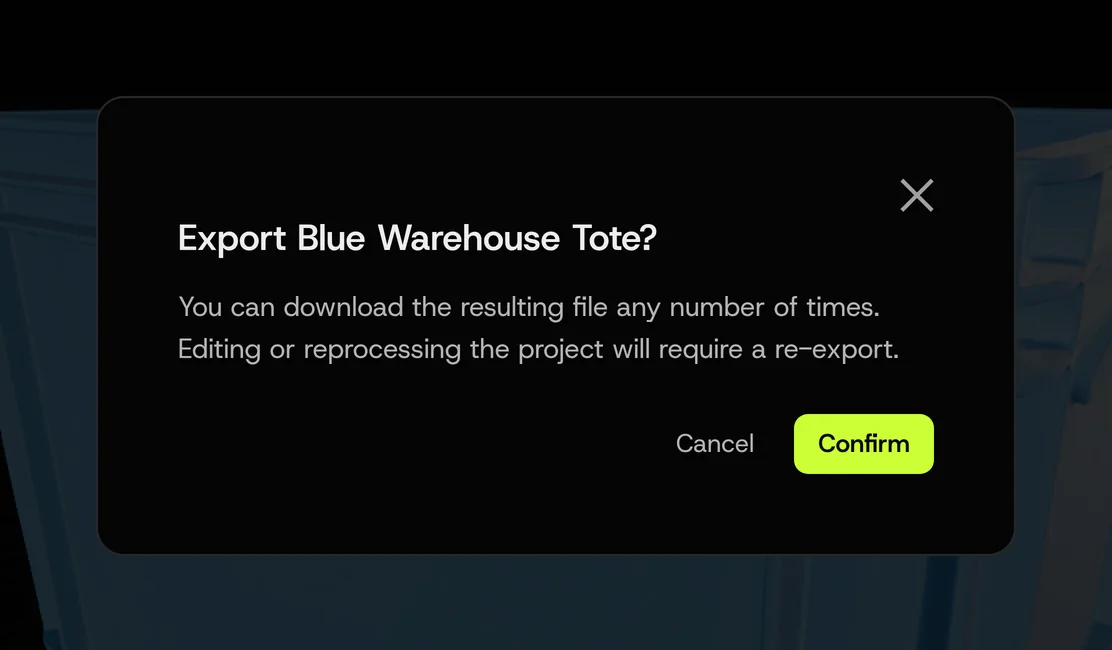
Download or reuse. Export produces a ZIP with the simulator package (USD for Isaac Sim, MJCF for MuJoCo, USDA for Newton), the mesh, textures, collision shapes, and physics values. Downloads are free. Or publish the asset to your Organization Library so teammates can use it. Target simulators and exports, Libraries
If something goes wrong
Section titled “If something goes wrong”The status line at the top of the Pipeline tab tells you what happened. A failed stage shows in red with a message; most failures are recoverable with a retry or a small input change. Why did my asset fail? has every status and what to do about it.