Image to Sim
Image to Sim reconstructs a specific real object from photographs. The photo is the identity of the asset: geometry, proportions, and materials are read from it, and the prompt fills in what a photo can’t show (size, hidden sides, what’s rigid vs. movable). Use it whenever the asset has to match a real thing.
What to upload
Section titled “What to upload”One clear photo is enough for most objects. Add more views when the back or underside matters.
| Requirement | Detail |
|---|---|
| Format | JPG/JPEG and PNG. Convert HEIC or WebP before uploading. |
| Subject | One object, the main thing in frame, not cropped by the edges. |
| Background | Plain or low-clutter. A white table, a wall, the floor. Busy backgrounds make segmentation guess. |
| Lighting | Even, no hard shadows across the object, no motion blur. Phone photos in daylight are fine. |
| Angle | Slightly above eye level, three-quarter view, shows the top and two sides. Straight-on product shots also work. |
| Resolution | 1024 px on the long side or more. Very large images are downscaled automatically. |
Multi-view
Section titled “Multi-view”Upload two to four photos of the same object from clearly different angles, with the same lighting and the object in the same position. The shape stage combines them into one reconstruction. Five or more photos switch the build to the parametric shape model instead. Multi-view only helps when the angles are genuinely different; four near-identical photos give no improvement over one, and inconsistent views (different lighting, object moved) can produce worse geometry than a single good photo.
Datasheets and spec sheets
Section titled “Datasheets and spec sheets”Attach a PDF or image of a spec sheet alongside the photo. The Agent reads dimensions, weight, and materials from it and uses them for scale and physics. If the sheet is a photo that can’t be read, the Agent tells you and asks for the numbers.
Walkthrough
Section titled “Walkthrough”-
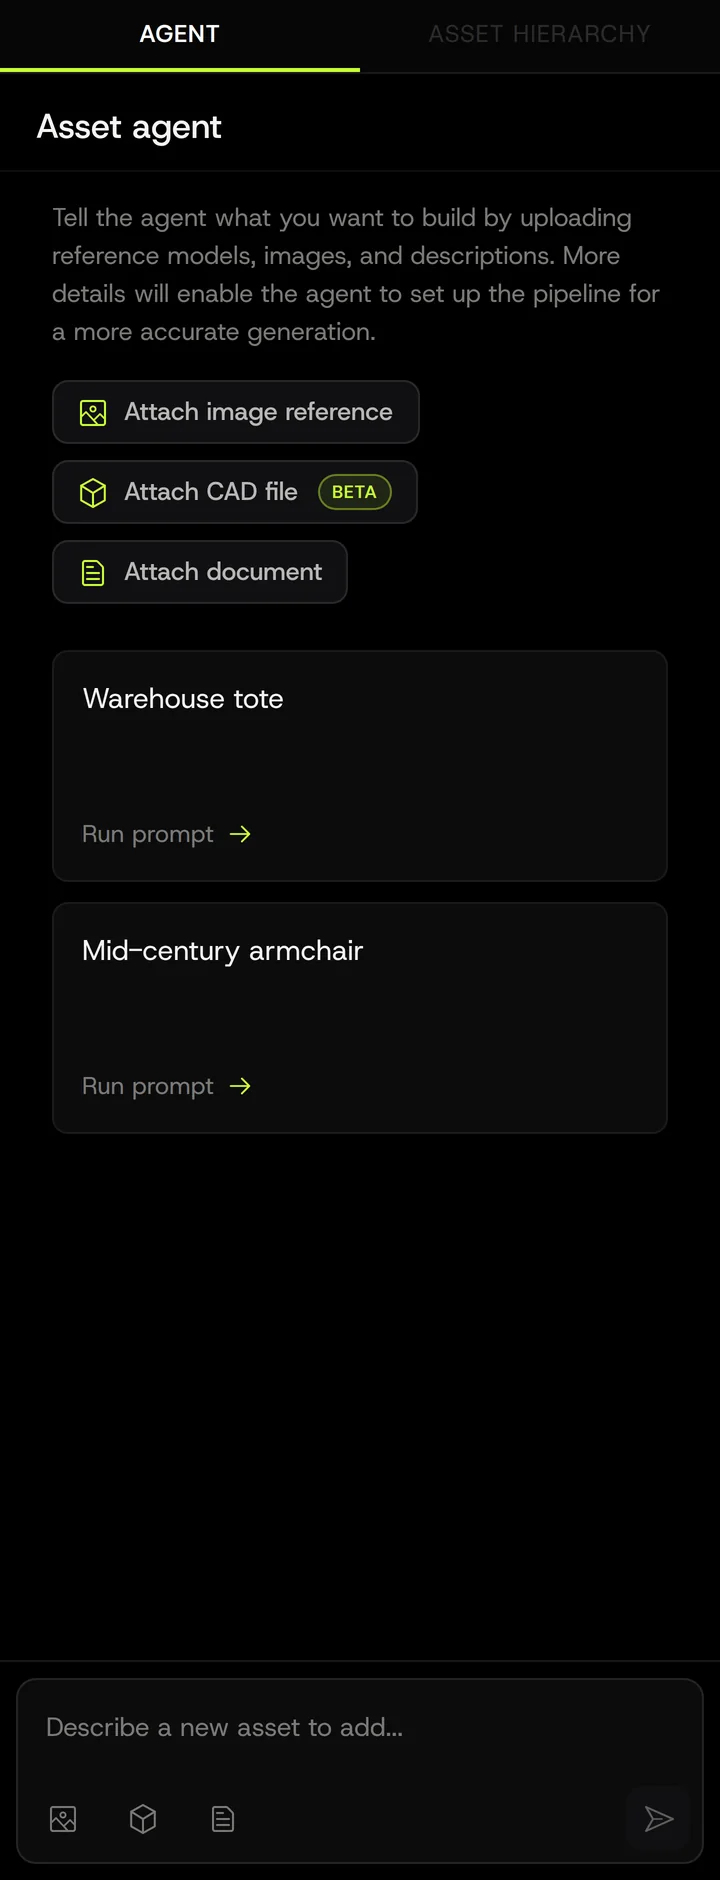
Upload image, or click Create Asset and then Attach image reference. Your photo appears in the message box.
-
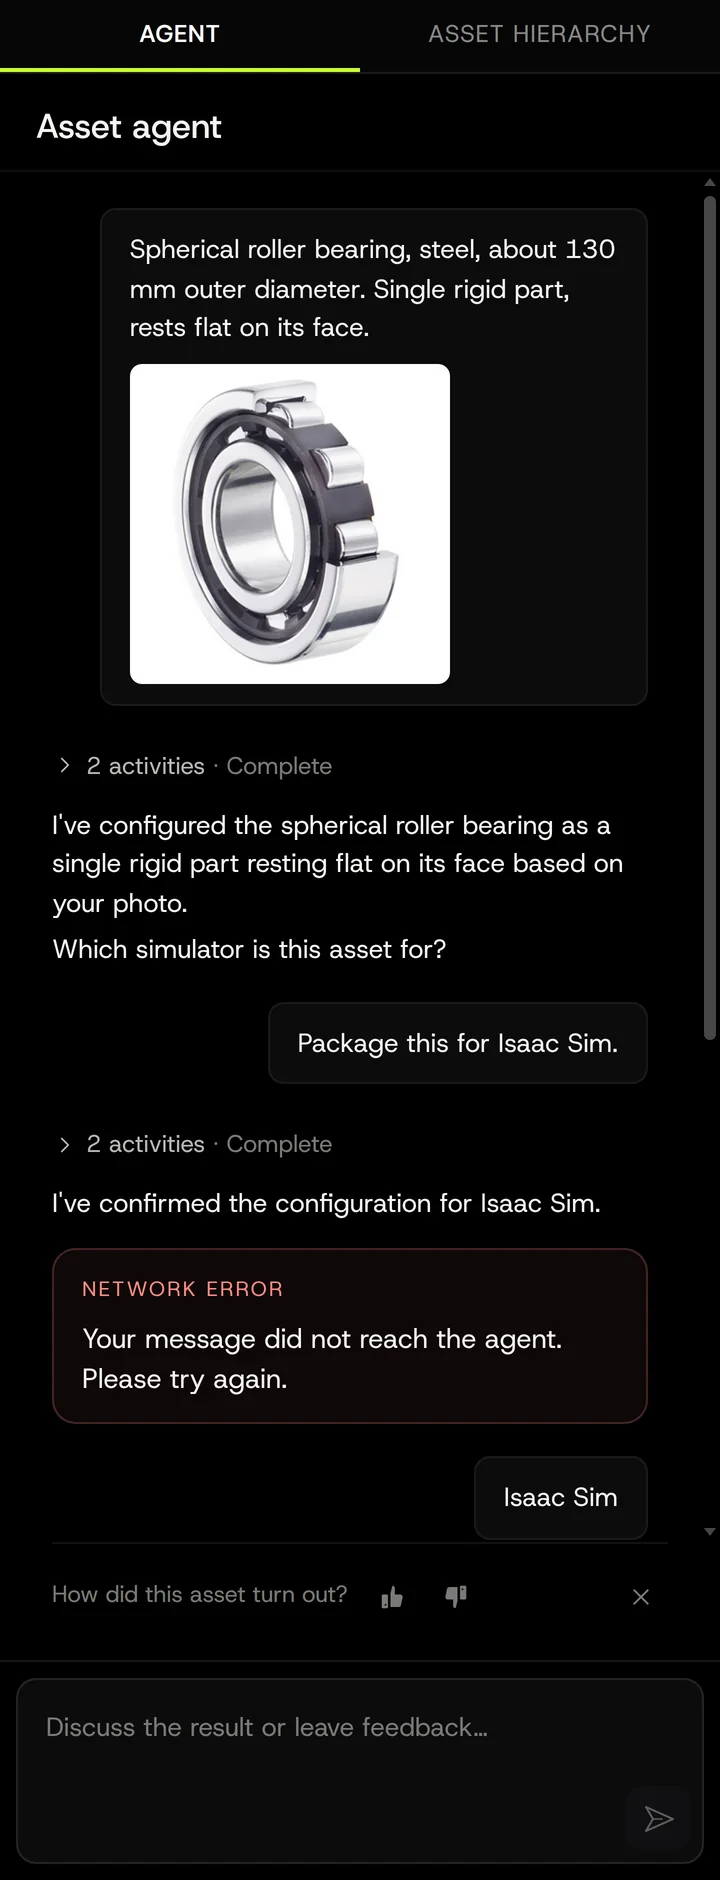
Add a short description and send. Required. What the object is, its size, and anything the photo hides (“the lid hinges at the back”, “hollow inside”). If you also say how the parts behave and how the object rests, the Agent skips those questions.
-
Answer what the Agent asks. It reads the photo and your description, names the asset, and asks only for what’s missing: which simulator, or how the parts behave, or which object if there are several in the photo.
-
Choose the structure, if asked: single rigid object, static parts, or articulated parts. See Behavior.
-
Confirm the build on the confirmation card. Check the target simulator and the token quote.
-
Wait for the build to complete, inspect in the viewer, then edit or export.
What the description should say
Section titled “What the description should say”- Object name and type.
- Size with units. A photo has no scale. “About 30 cm wide” avoids a 3 m wrench.
- Materials if not obvious from the photo (“the handle is rubber, the head is steel”).
- Which parts move, if any.
- How the object rests (upright, on its side, hanging).
Settings you’ll see
Section titled “Settings you’ll see”Same set as the other workflows: Behavior, Target simulator, Physics type, Shape model, and the mesh quality controls. Tell the Agent your dimensions and the details that matter so it can suggest suitable settings. All settings: How the pipeline works.
Common problems
Section titled “Common problems”- The background became part of the object. Retake on a plainer background, or tell the Agent “ignore the table” so segmentation re-crops.
- The back of the object is invented. Expected with one photo. Add a back view.
- Scale is wrong. Give the size in the description, attach a datasheet, or fix it with Apply Edits. FAQ: wrong scale.
- Glass or transparent parts render solid. Replace glass is on by default and swaps see-through parts for a glass material; if a part was missed, name it in chat (“the window on the door is glass”).
- Reference photo was rejected. Usually size, format, or the image failed to upload fully. Re-add it; the Agent retries the upload. FAQ: rejected attachment.
More in Why did my asset fail?.