CAD to Sim
CAD to Sim takes geometry you already have and makes it simulation-ready. Shape generation is skipped entirely; your file is the geometry. Palatial repairs and decimates the mesh, segments it into parts (or keeps it as one body), paints textures, estimates physics, builds collision shapes, and validates in the simulator.
Two things people get wrong: CAD to Sim does not redraw your part, and it does not preserve every triangle. It preserves the shape within the decimation budget you choose and produces collision geometry a physics engine can actually run.
Supported files
Section titled “Supported files”| Type | Formats | Notes |
|---|---|---|
| Parametric CAD | .step .stp |
Preferred. Units and assembly structure are read from the file. Part boundaries in the STEP become candidate parts. |
| Mesh | .obj (+ .mtl) .glb .gltf .stl .fbx |
Any triangle mesh. Existing materials in GLB/OBJ+MTL are kept when Apply textures is off. |
| Compressed | .zip of the above |
For OBJ with textures, zip the OBJ, MTL, and image files together. |
Size limit is generous but not unlimited; very dense scans (tens of millions of triangles) should be decimated before upload. If a file exceeds the limit the upload is refused before any tokens are spent.
Walkthrough
Section titled “Walkthrough”-
Upload CAD model, or click Create Asset and then Attach CAD file. The Agent shows the filename and size and generates a preview; you can keep chatting while the preview loads.
-
Describe what it is. One line: the object, what it’s for, and any moving parts (“a two-finger gripper, fingers slide on the rail”). CAD files rarely say what the object is; the Agent needs this for physics and segmentation.
-
Answer the structure question. For CAD this matters most:
- Single object: everything is welded into one rigid body. Fastest, right for brackets, fixtures, castings.
- Parts: the assembly is split into separate rigid bodies with fixed joints. Right for things you want to inspect or recolor per part.
- Articulated: parts get real joints (revolute, prismatic) inferred from the geometry and your description. Right for grippers, hinged lids, drawers, arms.
-
Decide on textures. Apply textures is a switch that only appears for CAD. Off keeps your file’s materials (or flat gray if it has none). On paints PBR textures from your description and, optionally, a texture preview you pick from a few generated options.
-
Confirm on the confirmation card. Check units, up axis, target simulator, and the token quote.
-
Wait for the build to complete. Check the collision shape in Asset hierarchy (toggle the collider row); CAD parts with thin walls or fine features are where collisions most often need a second look.
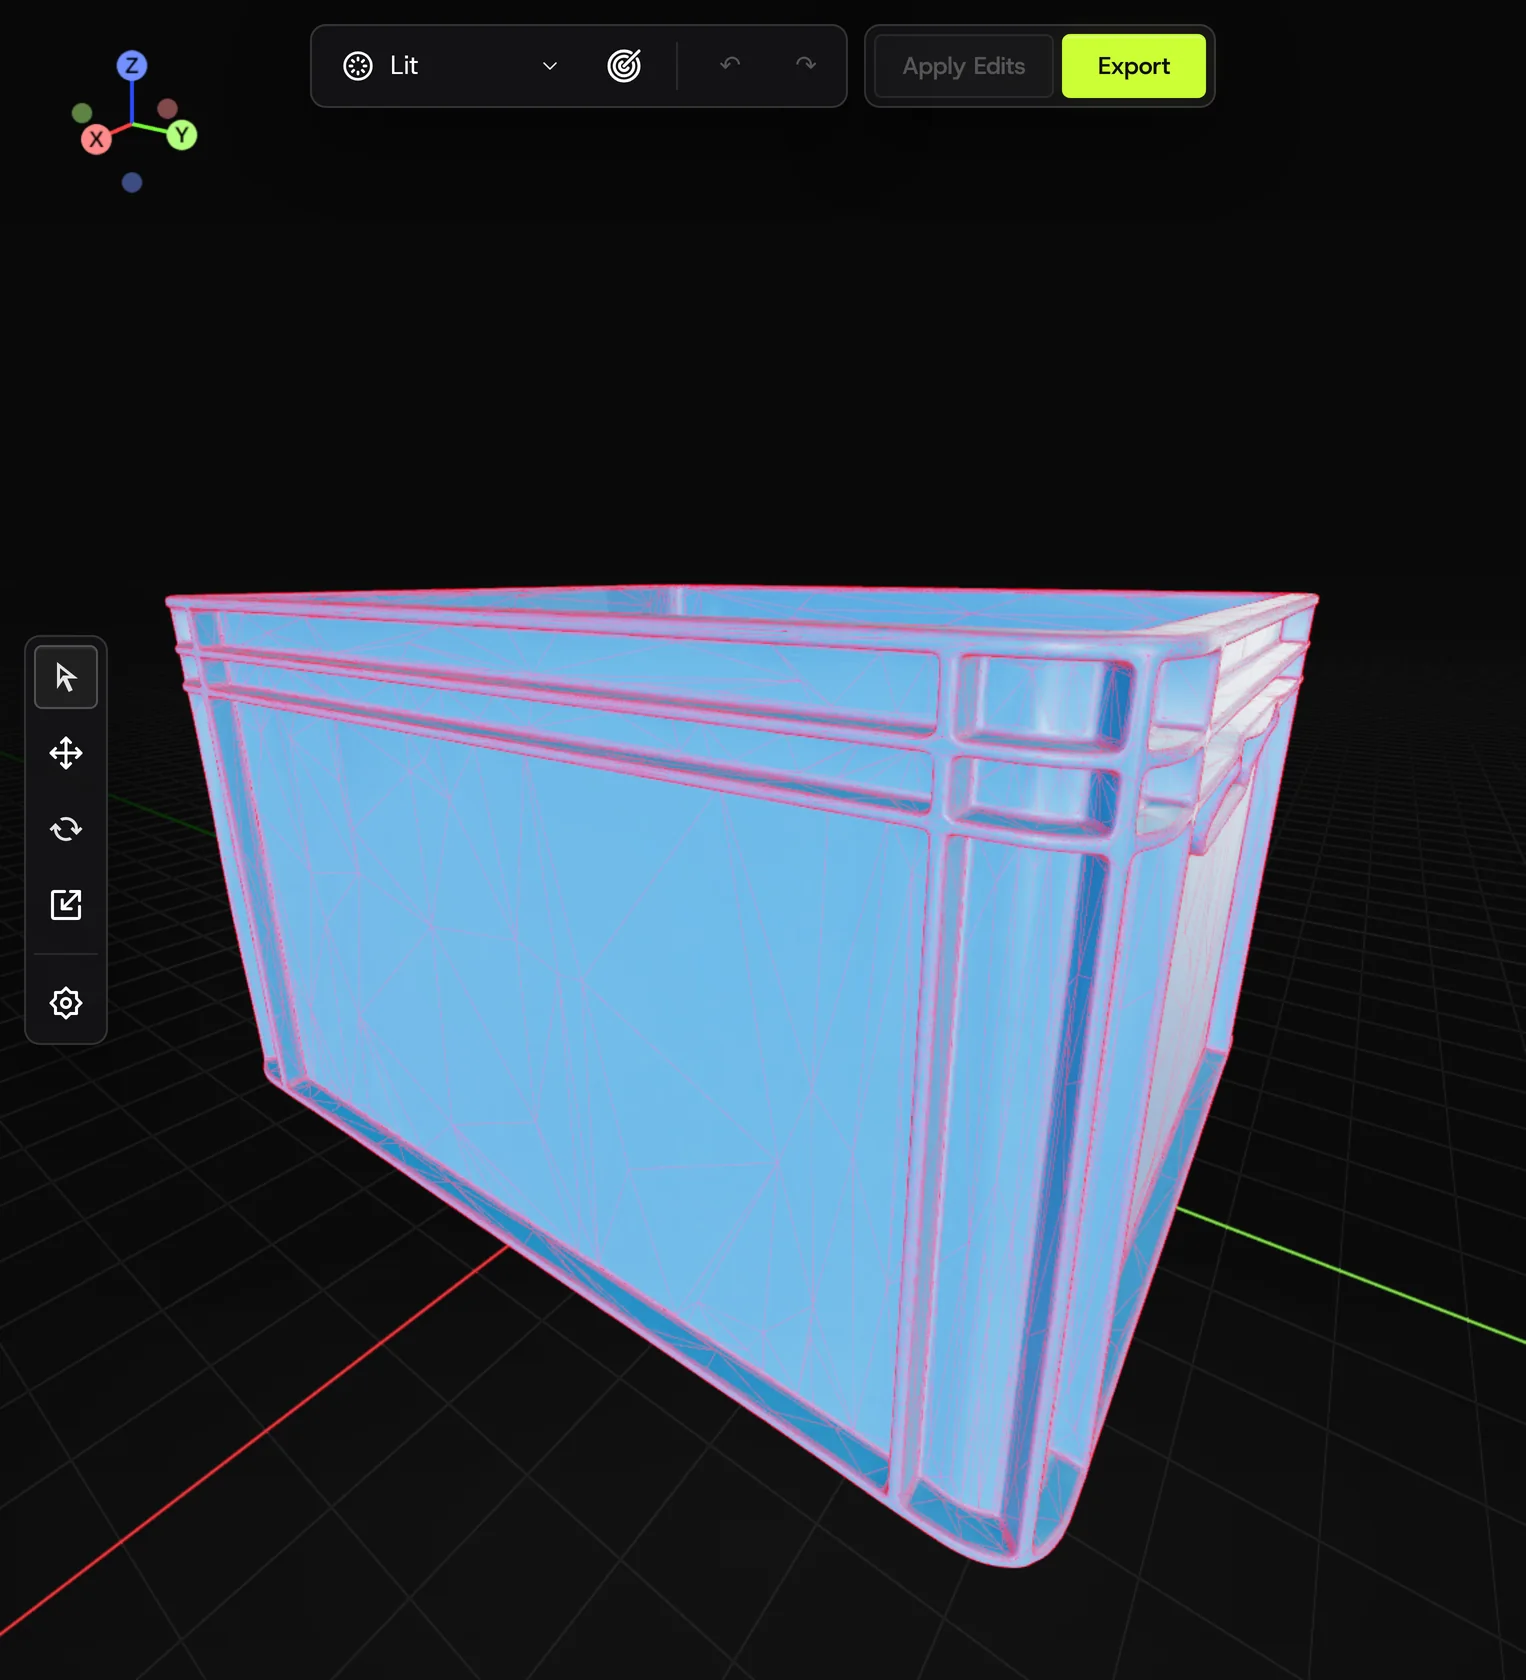
What happens to your geometry
Section titled “What happens to your geometry”| Stage | What it does to a CAD input |
|---|---|
| Mesh repair | Fills holes, removes duplicate faces, fixes normals. Watertight input passes through untouched. |
| Decimation | Reduces triangle count to the Triangle count budget while keeping edges. Review the selected reduction settings and inspect fine details after processing. |
| Segmentation | Uses STEP part boundaries when available; otherwise splits by geometric analysis. Only runs when Behavior is Parts or Articulated. |
| Textures | Skipped unless Apply textures is on. |
| Physics | Mass from volume x material density; you can override mass, density, friction, restitution per part. |
| Collision | Convex decomposition per part at the chosen Collision level. SDF collision is available for Isaac Sim and is the right choice for concave parts (bores, hooks, cavities). |
| Validation | Drops the object in the simulator, checks it rests stably and joints move through their range. |
Preparing a file
Section titled “Preparing a file”- Export one object per file. A whole assembly of unrelated parts confuses segmentation; a single assembly that is the object (a gripper) is fine.
- Remove construction geometry: reference planes, sketches, hidden bodies. They become parts.
- Merge coincident faces and close gaps in STEP; mesh repair handles most, not all.
- For meshes, export with normals and UVs if you want to keep your own textures.
- Keep the file in real-world scale and note the units.
Common problems
Section titled “Common problems”- Triangle count exploded. Very fine CAD tessellation. Lower Mesh quality, or set Triangle count to a budget (Low 20k-50k is enough for most fixtures). FAQ.
- Parts fused, or too many parts. Segmentation followed the STEP structure literally. Say which parts should be one body (“the four screws are part of the base”) and rerun segmentation. Editing.
- Wrong scale. Units. Set them and reprocess; no regeneration needed.
- Textures painted over my materials. Turn Apply textures off and rerun the texture stage.
- Collisions fill a hollow. Switch Collision to SDF (Isaac Sim) or raise the collision level; convex hulls can’t represent a cup’s interior.
More in Why did my asset fail?. API users: the same flow is POST /assets/cadtosim in the Using the API.